Showing posts with label Brand - L.A. Colors. Show all posts

Thursday, June 16, 2011

a Lazer manicure & some new polish


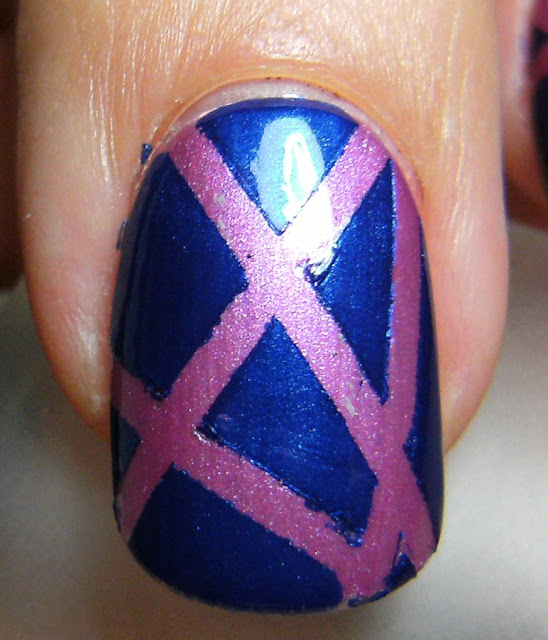
The base polish is my mani form yesterday - LA Colors Lollipop, I applied 1/16th tape and added Billie Cosmetics Dark Blue. I found 1/16" graphic art tape at staples for 8 bucks.... its pricy ~ but you get alot on the roll. I should have pressed down a bit more on the tape before I applied the shimmery dark blue polish as there is some seepage and wonky lines. So far there is no sticky reside left over for the tape which is nice.


......and yippee! a new collection of Billie Cosmetics Nail Polish
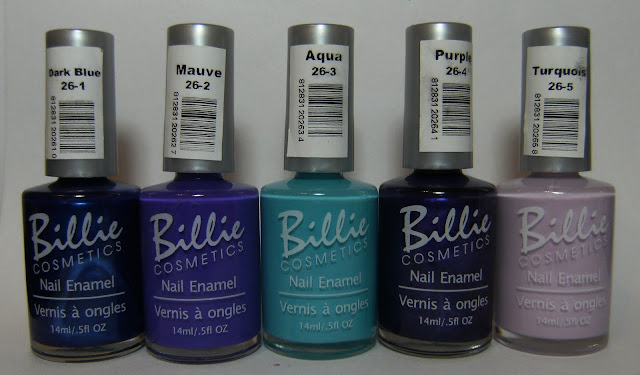

ha ha ha at some of the names.... Turquois, the second polish on the left is a flourescent medium purple which totally fudged up the coloring in this photo.

I will swatch these.... soon

I used my new Billie polish Dark Blue
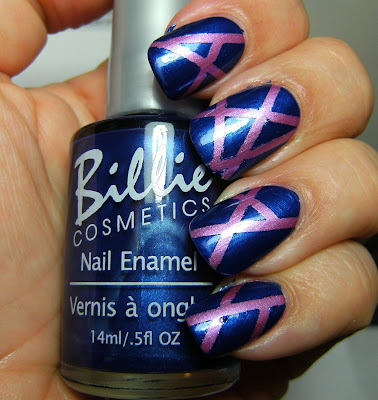
base polish LA Colors Lolipop


I used graphic art tape - i found it at staples for 8 bucks for a roll. I cant find a photo of the exact type of tape but here is a photo from the internet;


apply tape & second colour


remove & apply TC

Wednesday, June 15, 2011

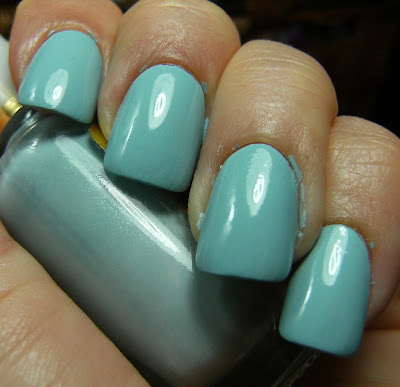
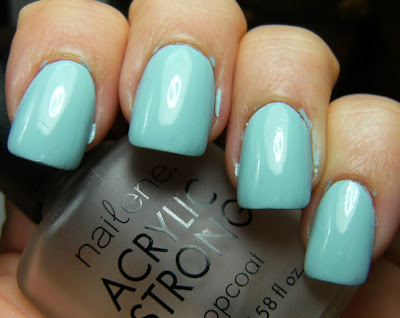
LA Colors Lolipop ~ wow this polish is a dollar?


This is 2 coats of LA Colors Lollipop layered over Sally Hansen Chrome Mayan Ruby with a coat of TC. These LA Colors polish's are available at the Dollar Tree & family Dollar USA for $1 USD, and in Canada at 'Only Deals' discount stores and some of The Bargain Shop's for $1.50 to $2.00 CAD. I think these are still on sale at cherry culture for $1.50

LA Colors Lollipop is a shimmery pink shade that need 4 to 5 coats to get to the bottle colour, so when I have worn this ~ I layer it.


below - 2 coats of SH Chrome Myan Ruby

center; 2 coats of Myan Ruby, on the left & right is 1 coat of Lollipop layered

SH Chrome Myan Ruby & LA Colors Lollipop

indoor flourescent


evening sun
OOO


Wednesday, May 18, 2011

Berry Blast Off


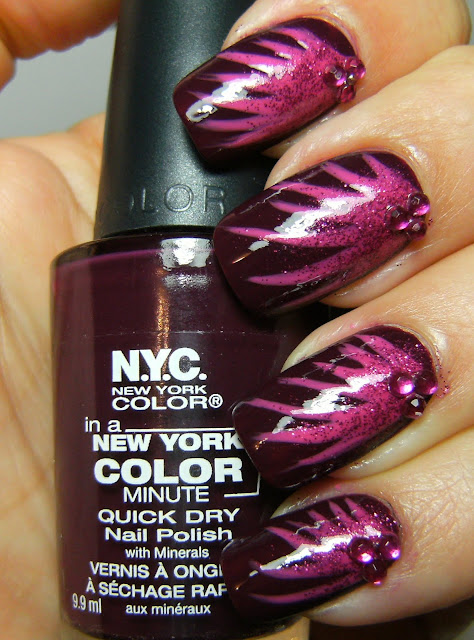
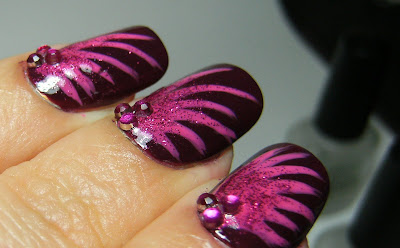
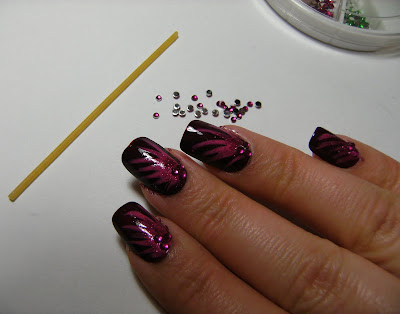
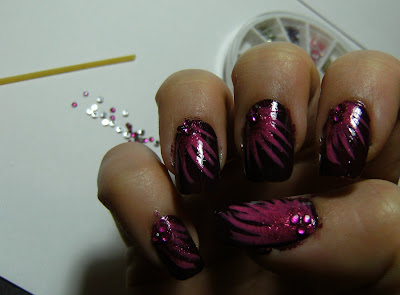
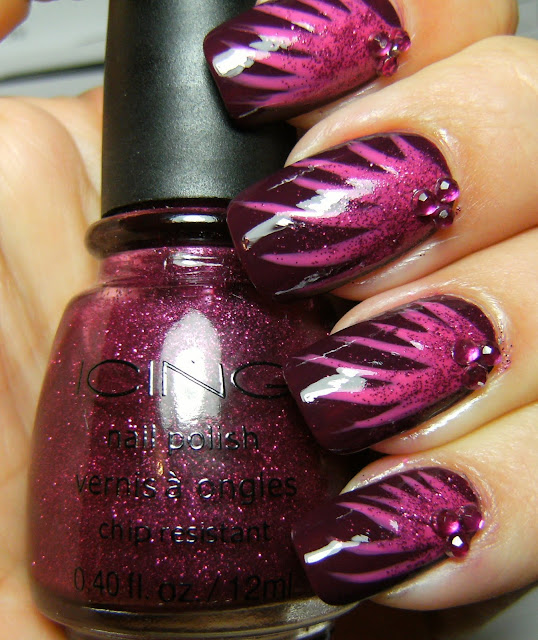
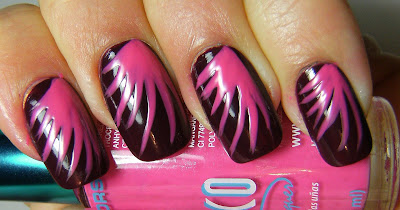
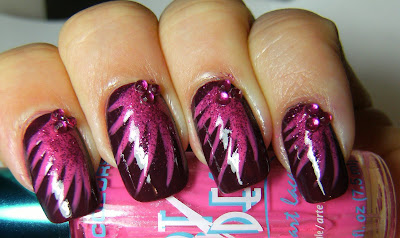
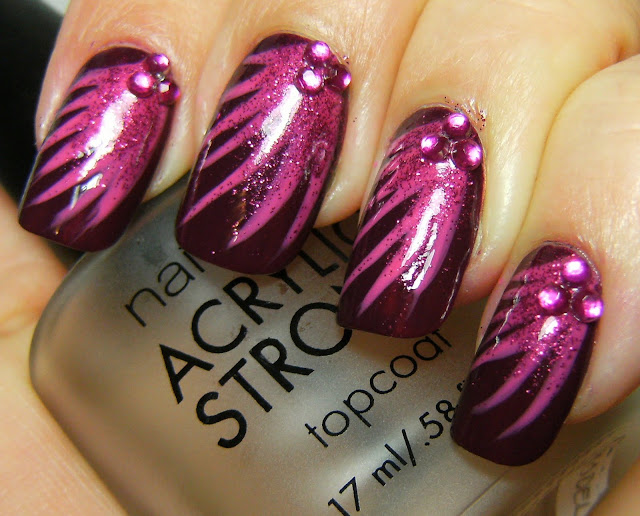
This is 3 thin coats of NYC Manhatten, followed by 2 coats of At Deco pink stripe polish, a purposely messy addition of Raspberry glitter and a few of those fake rhinestones set into wet Top Coat. I really should have used 2 coats of top Coat, becuase this glitter textured and marred what should have been a shiny surface.

It's strange how some glitter nail polish is smoothe and only needs a light coat of Top Coat, and some glitter polish needs 2 or even 3 coats to get a shiny even surface. I got these fake rhinestones from the DollarRama and if they are covered by polish, any polish, the shiny finish clouds over. So now I just set them into wet top coat.

These fake rhinestones hung on for the day despite being placed into wet Top Coat..... My thumb nails and ring nails lost a few gems towards the evening but none of them got stuck in my hair.... this time!


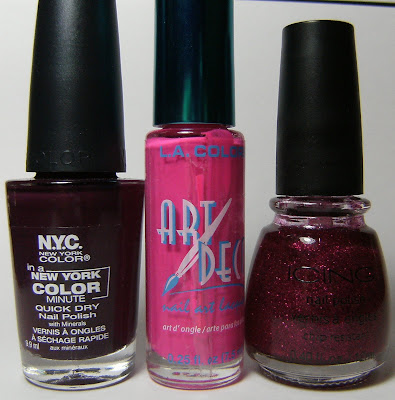
NYC New York Color Manhatten, Art Deco Pink Stripe Polish, Icing Raspberry Glitter


I used a piece of spaghetti ( not cooked lol ) to pick up these gems and place them into wet TC

My Right hand, which I plan on adding to more posts.... my left hand gets all the glory

Icing No-Name Glitter...... I think I'll call it Raspberry Glitter

 2 'coats' of Stripe polish

with the glitter & gems

Saturday, April 16, 2011

Butterfly wings


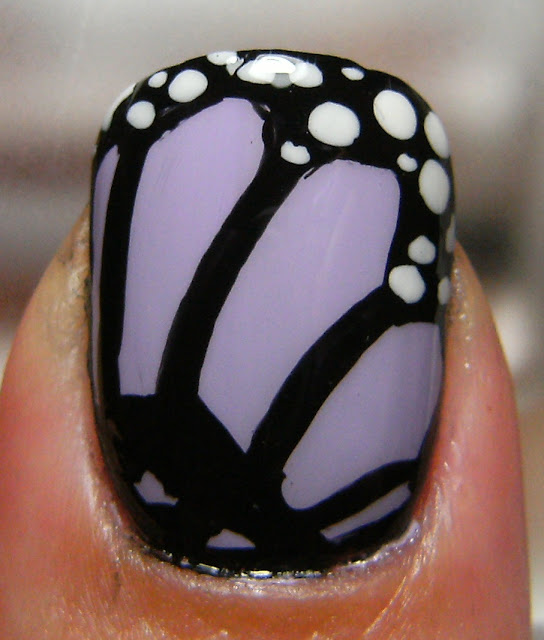
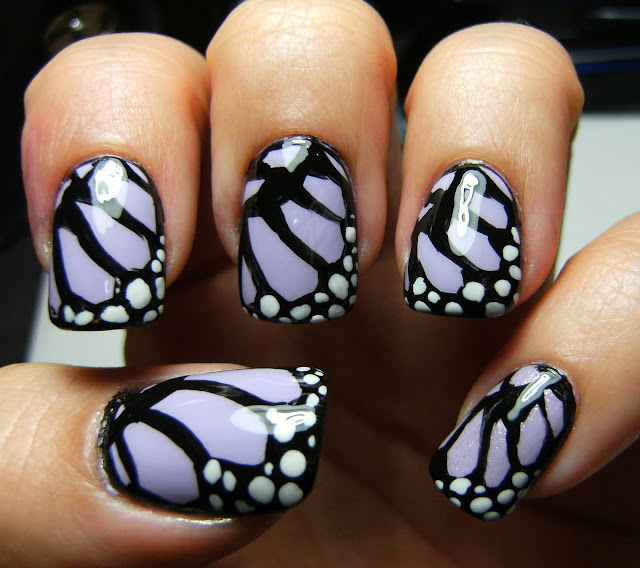
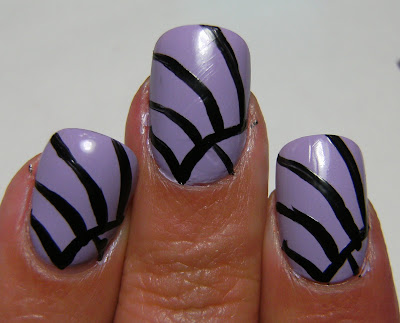
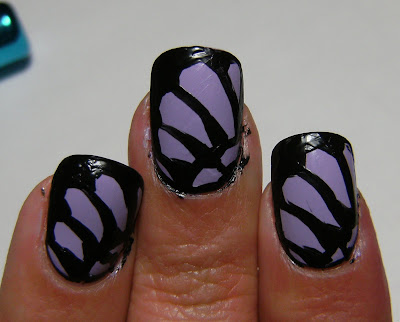
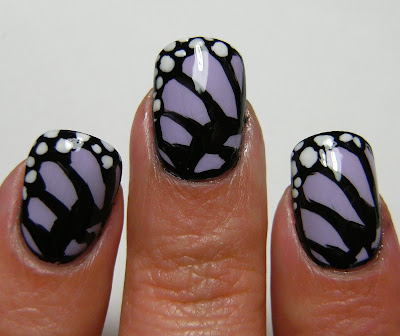
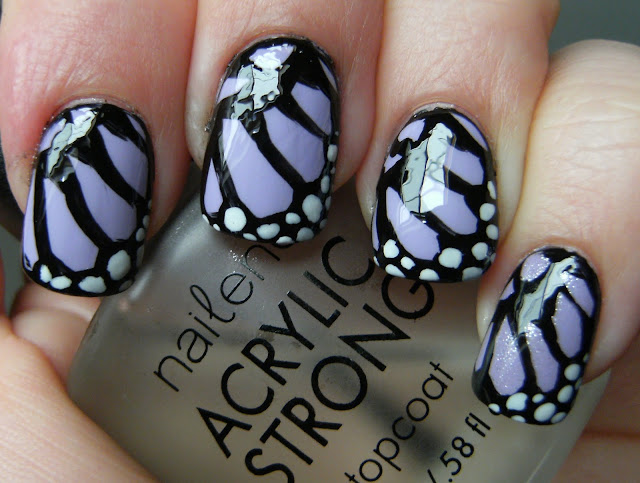
Here is some butterfly wings, these were surprisingly easy to do, I have seen this look a few times on blogs and on YouTube, so I thought I should try. I wish I used more of a shimmery base ~ on my pinky I did add a sheer shimmery polish.

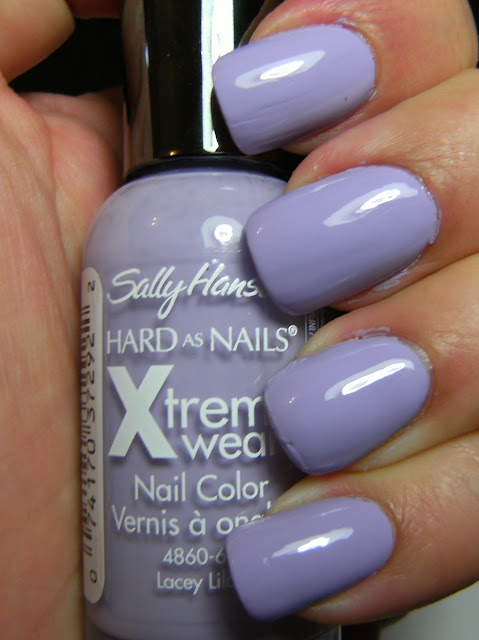
This is 3 coats of Sally Hansen Lacey Lilac, then I used Art Deco Stripe polish in Black. I added the white dots with a Sally Hansen polish. I needed 2 thick coats of Top Coat for this, the black striping polish added a lot of texture ( needs to be thinned out ).

I am going to try this again, even though I think it turned out pretty, I want less black partitions and more of a shimmery base. I think that using on of those squeeze nail art things would be much easier for this look, just IMO......


step 1 - partitions


step 2 make partitions round, fill in tips


step 3 white dots and Top Coat


3 coats of Sally Hansen X-Treme Wear Lacy Lilac


shade - this black stripe polish needs to be thinned..... it added a lot of bumps to this mani

Wednesday, February 9, 2011

a copy of a copy...... with a *proper* GIF


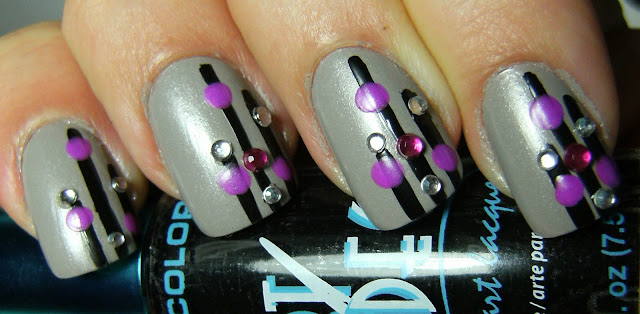
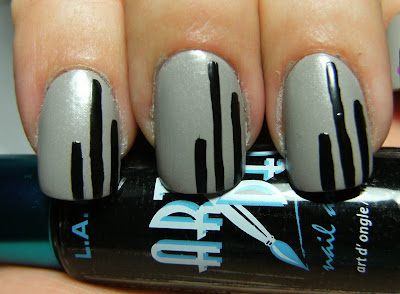
This is a copy, of a copy. I first saw this on Dee's Polish Endeavors HERE, where she replicated another fabulous mani. Although the art deco stripe polish brush is thin and workable, I think I need to use something much thinner, possibly the 'stripe rite' brand of polish in the future to get a very thin line.

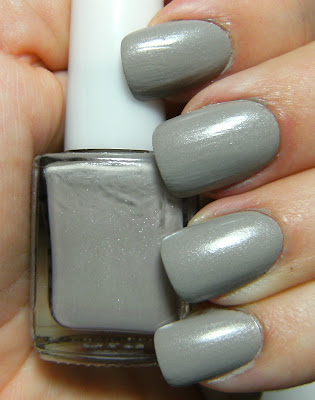
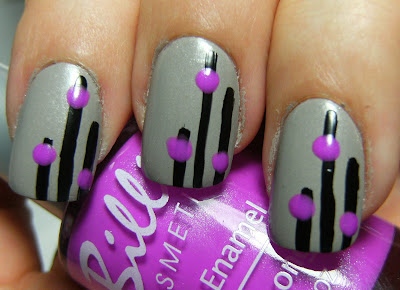
This is 3 coats of a franken I made, followed by the black strip polish, I added some Billie Purple Rain dots, and some clear and pink crystals I did not add TC to this, I kinda liked how it had a low sheen.

I love crystals and rhinestones, but I have this terrible, terrible urge to touch then all the time and want to pick them off - I think I'll have to get back to large pieces of glitter and nail stickers.


my awesome franken

LooGix has been a good gif make for me... hope this comes across alright. Since I am painfully terrible at writing instructions, I want to add more gif's instead of a massively loooong post. It is fun to try new things with blogging, I would love to make more nail art videos in the future as well.

Gif maker
Gif maker


art deco stripe polish in black

Billie Purple Rain


Monday, February 7, 2011

fun french tips w/ Art Deco stripe polish


a quickie mani, 2 coats of Rimmel Camouflage with black Art Deco Stripe Rite polish across the tips. I added a coat of TC and stuck a lite green fake rhinestone in the center.. This is supposed to be a curved chevron, I am trying to work on my free-hand funky french tips but I suck. I can barely do a straight line, but for some reason I can do a perfect chevron with the polish brush.

I think I should have used a polish guide for this one.... oh well.....Also, My Art Deco in stripe polish in Black is a very dense black that dries fast.


Rimmel Camouflage on its own - 2 coats


Tuesday, February 1, 2011

Green Beauty ~ Glitter & Sponge Teal


My latest Mani I call Green Beauty

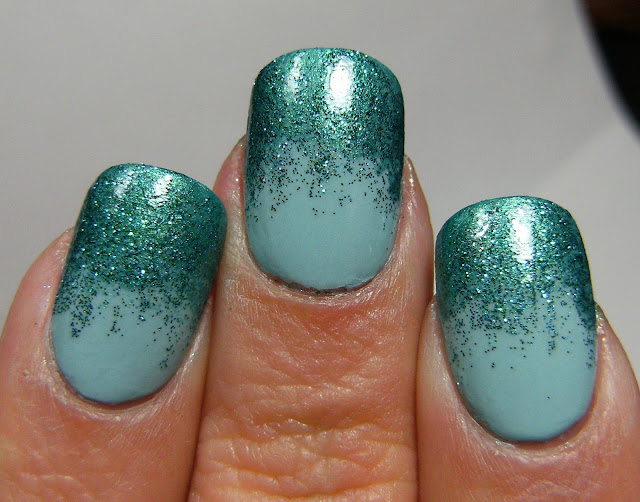
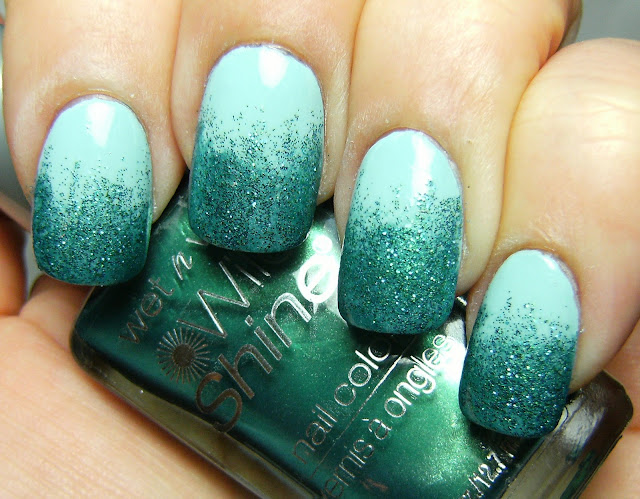
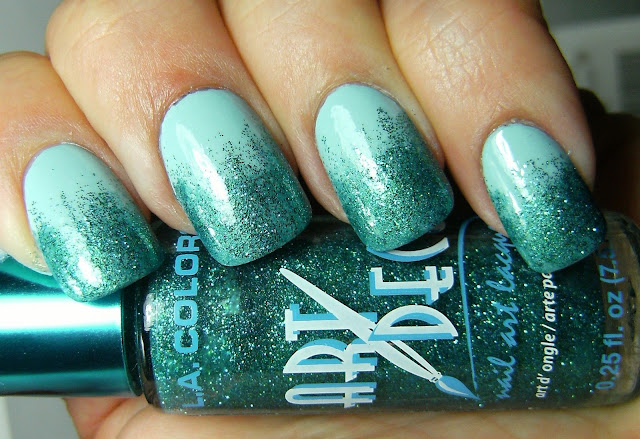
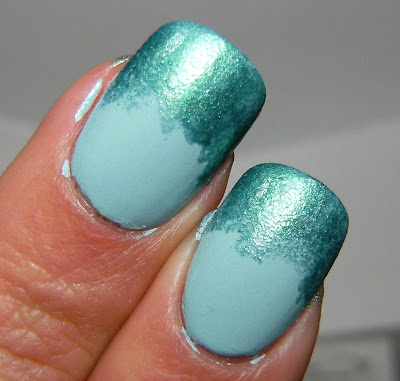
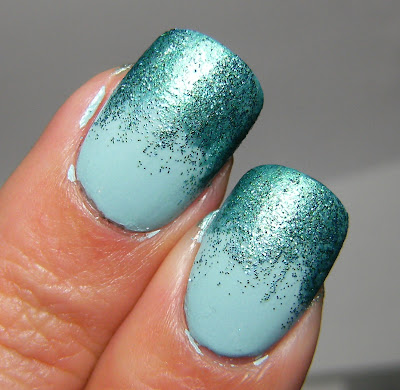
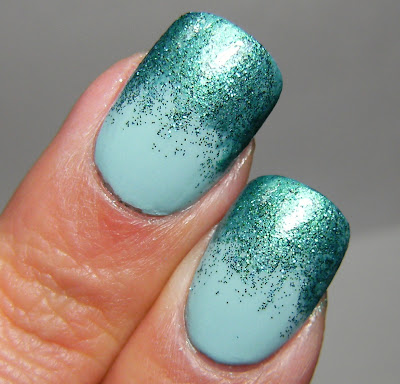
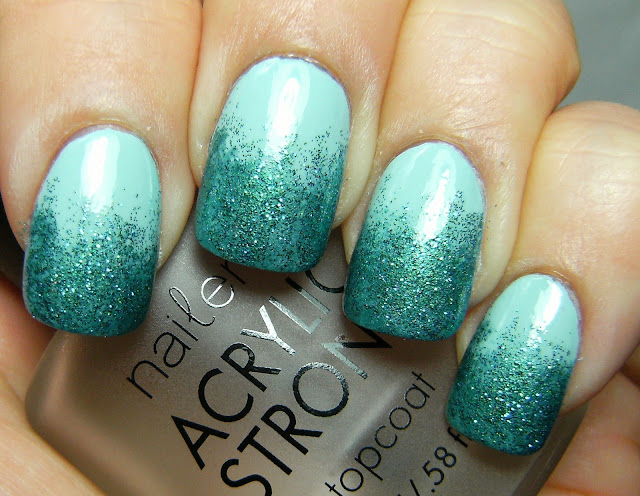
I used a franken I made with Wet n Wild Caribbean Frost and white as the base colour, I sponged on Caribbean Frost at the tips of my nails, and added Art Deco Stripe polish in Green/Teal glitter.... I added a coat of TC, for these photos, but I needed 2 for this look.

...And a fun video I made


WnW Caribbean Frost is a beautiful polish on it's own - needs 3-4 coats  ( pic's tomorrow )
 There is TEAL as well as GREEN glitter in the striping glitter polish....

Franken 2 coats w/ TC made with WnW Caribbean Frost & White


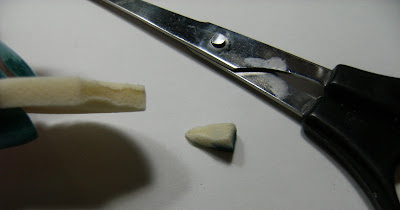
Using a cosmetic wedge or sponge produces a fabulous sponge effect. The do not seem to leave as much fluff or create a lot of texture like other sponges do because they are a denser sponge. I feel like I used less volume of polish of my sponging as well. ( this is the only photo I have of the sponge I used.....)


 ........sponge
.........glitter

...Top Coat


Related Posts Plugin for WordPress, Blogger...