This is 3 thin coats of Avon Bare Necessity, with an addition of a holographic multi-sized glitter franken. I sprinkled on some purple holographic glitter as well. after sprinkling on a small amount of glitter I gently pressed down on the surface of my nail to get all the glitter laying flat.
I wanted my nails to look like they had a casual addition of glitter. I like this type of look as much of the original base polish is visible and it is a nice contrast between the creme polish and glitter. For the glitter franken, this is Claire's Hollywood, a multi-sized silver glitter, I added Claire's Magic to it, so it has a slight purple base instead of clear.
Whenever I add a sprinkling of glitter to a manicure - it is always messy. No matter how hard I try to keep the glitter in a single area it usually ends up all over the place - but the results are pretty 99% of the time.
stuff i used; Avon Bare Necessity Claire's Hollywood Franken, holographic dark purple glitter

swooped on glitter, then filled in between

sprinkled on the dark purple holographic glitter

every time I do this { sprinkling glitter onto wet polish } I tell myself ' do it over the sink' = but i rarely do. that is the best way to do this because all the wayward glitter can be washed down the drain.
in this photo there is a few pieces of glitter sticking up, i gently press them into the wet polish with my finger-tips..... generally i bank on needed 2 or more coats of top coat to get a high shine bump free surface when i use a dense glitter like Claire's Hollywood.

.... and a few more photos


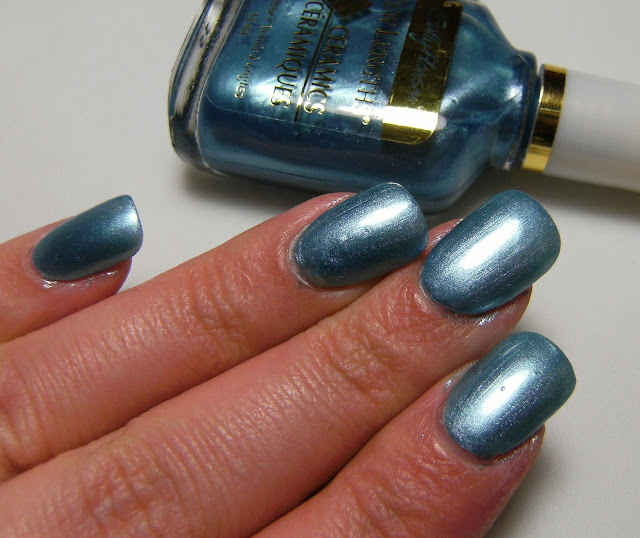
.JPG)
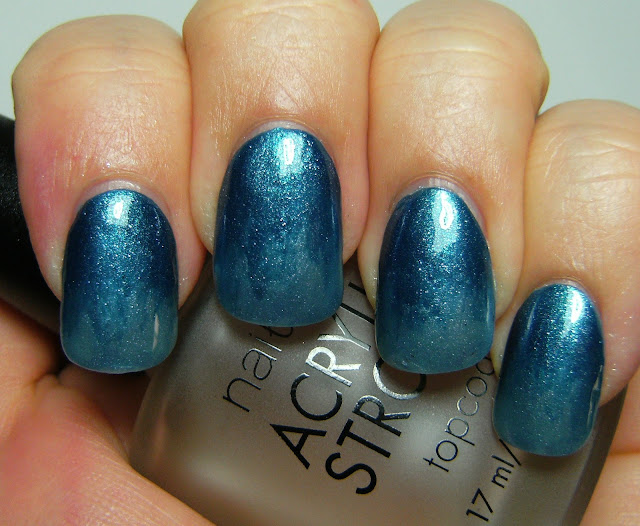
.JPG)
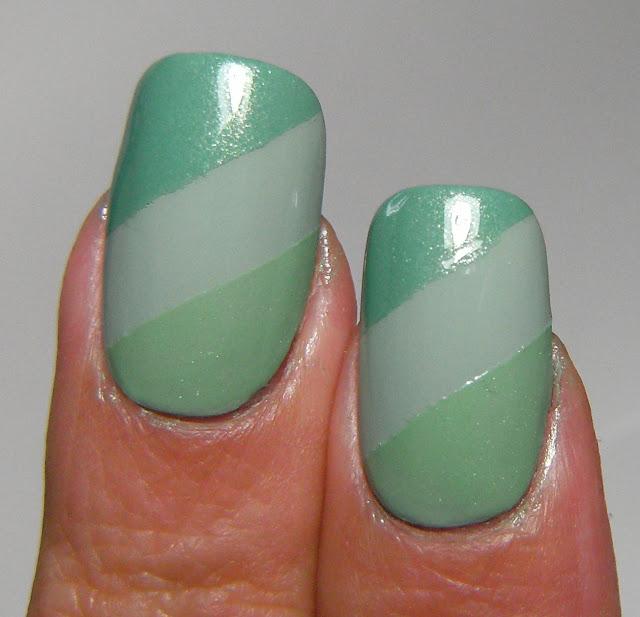
.JPG)
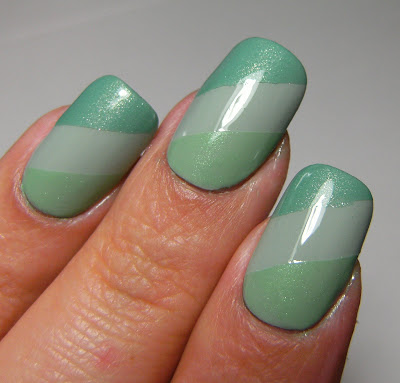
.JPG)
.JPG)
.JPG)
.JPG)