Showing posts with label Colors - Pink. Show all posts

Saturday, August 13, 2011

Sally Hansen Nail Prisms Pearly Pinkk & fake crackle/shatter nails

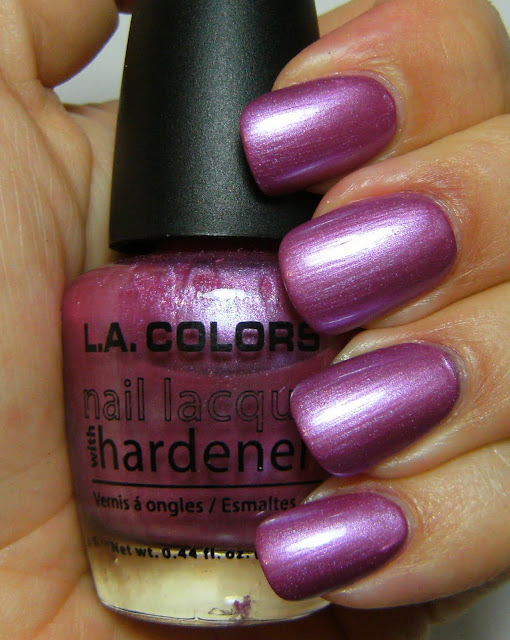
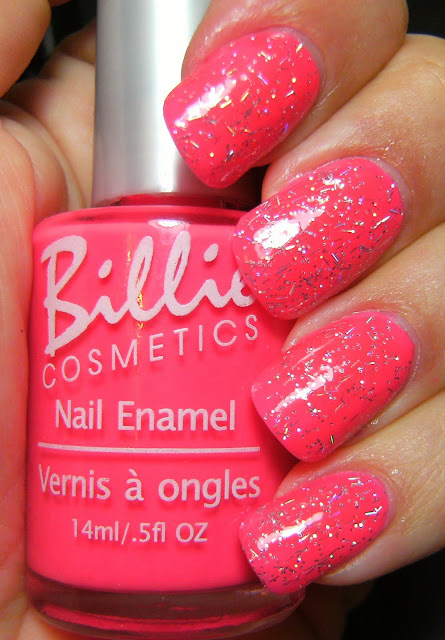
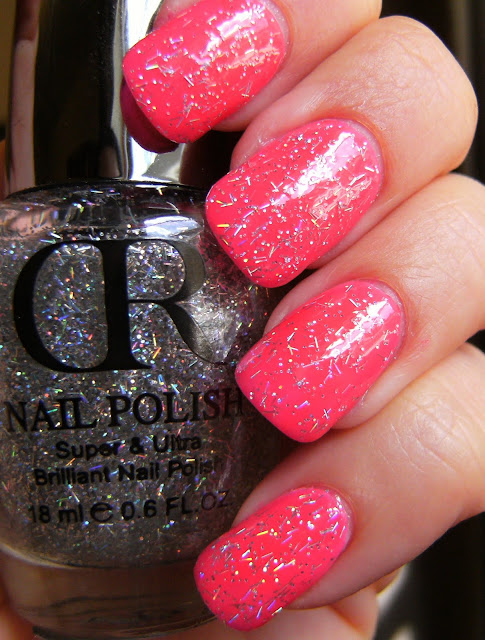
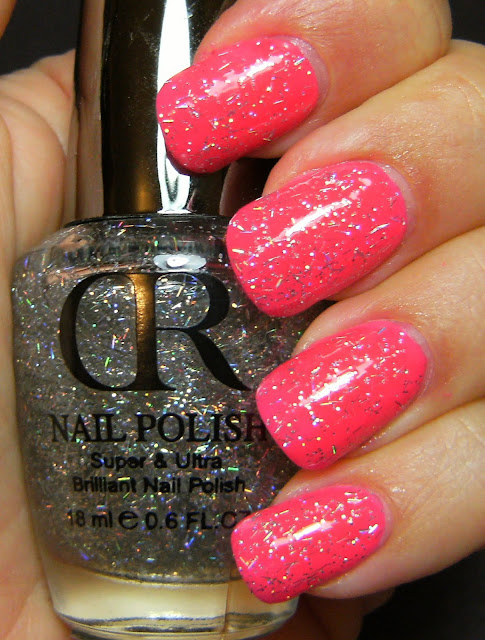
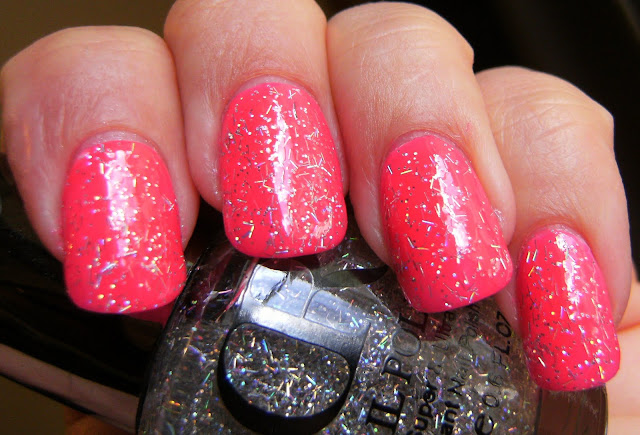
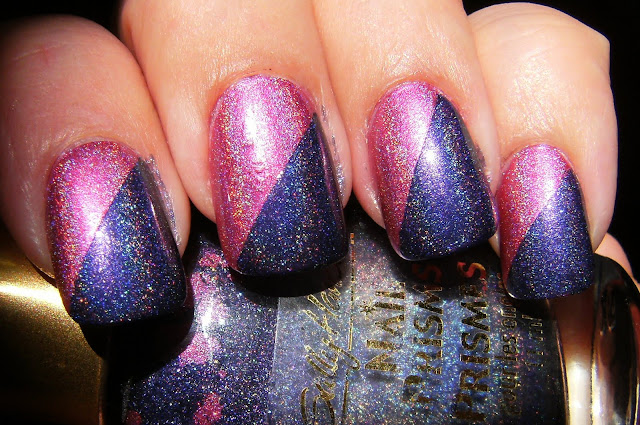
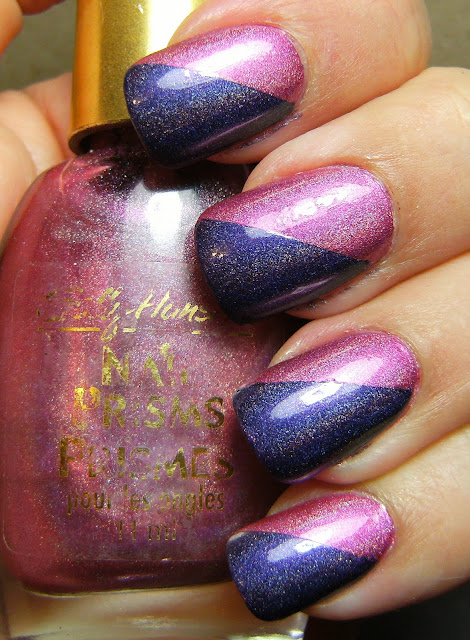
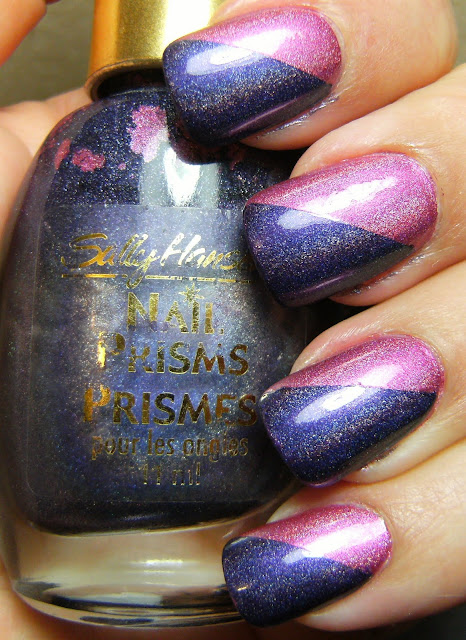
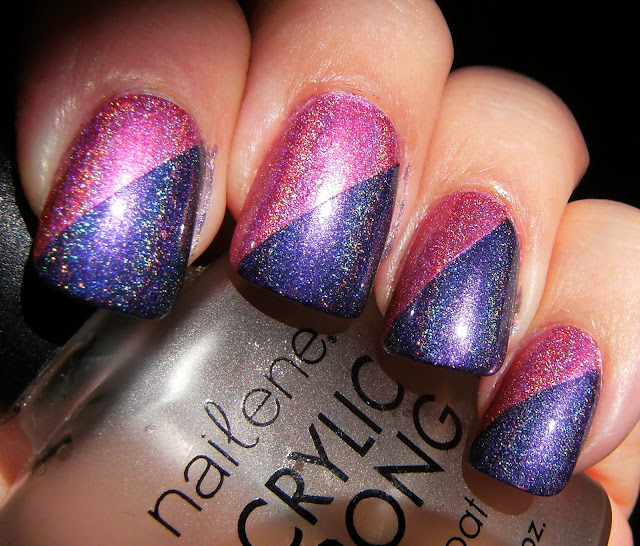
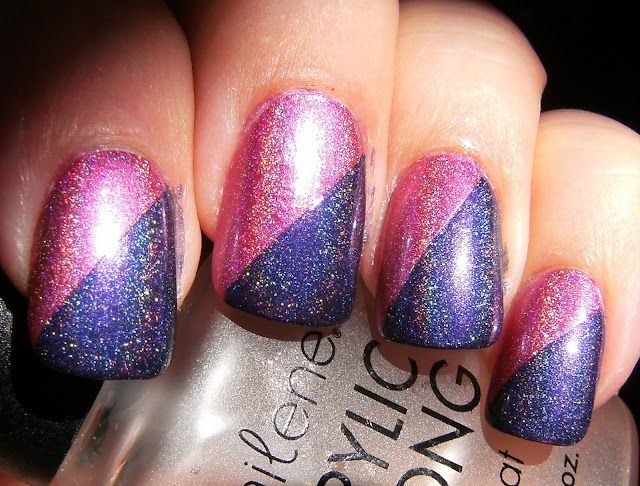
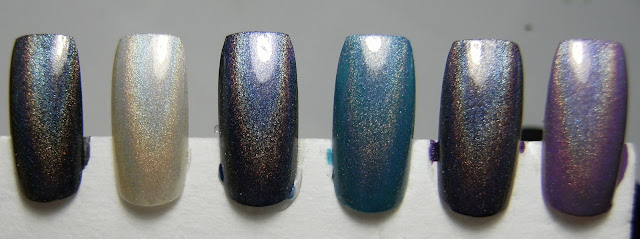
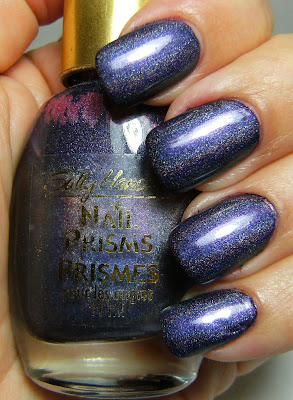
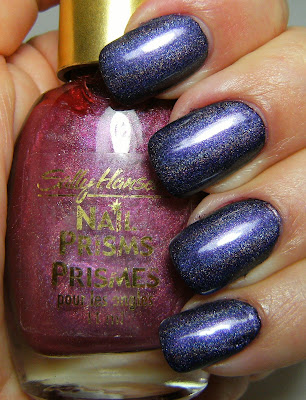
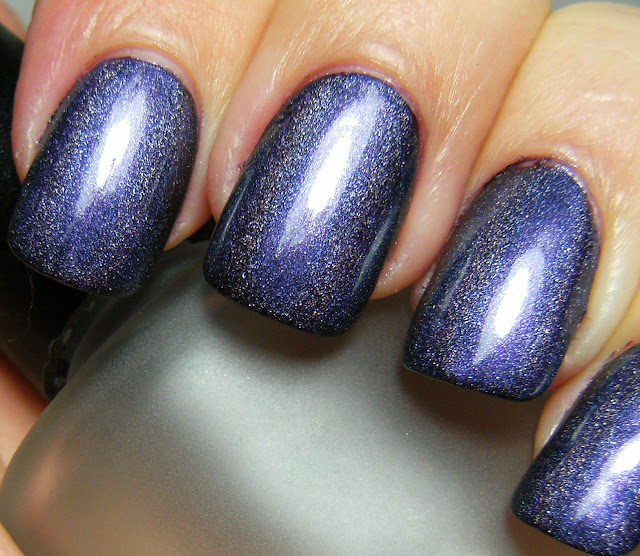
Sally Hansen Nial Prisms Pearly Pink layered over 3 thin coats of Wet n Wild Frosted Fuschia

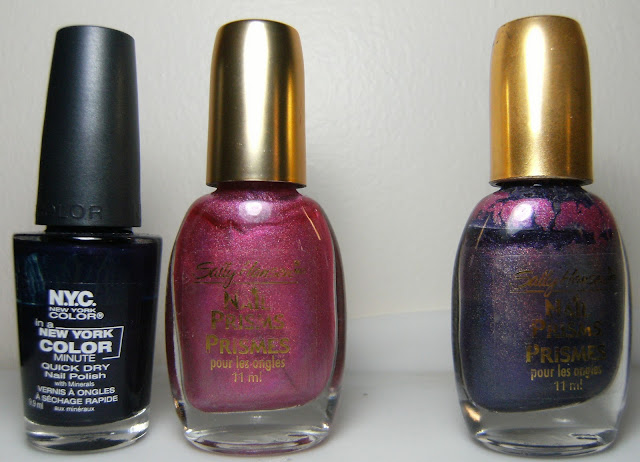
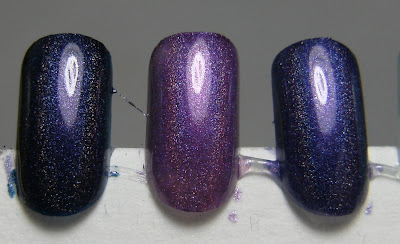
  I found this older SH polish for $1.50, a few months ago and never got around to wearing it. Someone else in my town scooped up most of the older Sally Hansen Nail Prisms that were delivered, so I only grabbed this and another one that I already had. This is the Canadian exclusive (lol) called Pearly Pink. It is a sheer pink with heavy teal and blue flash.  Here is Lextard's photo,   I am pretty sure its the same polish.


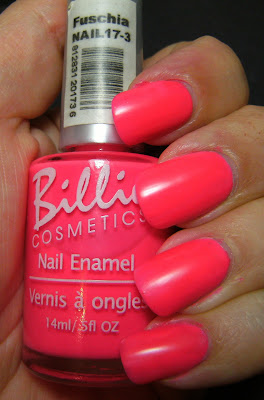
below is Wet n Wild Frosted Fuchsia - which is not a frost at all! It is a very bright shimmery polish that took 3 thin coats to get to opacity. This is another polish that I picked up a few times and put doen at least 4 times over the years.

Wet n Wild Frosted Fuchsia - 2 coats.


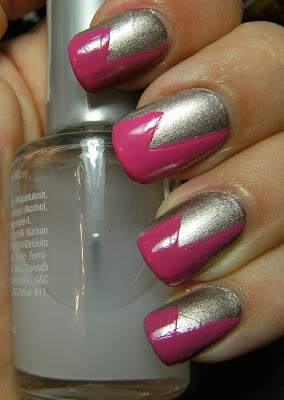
.....and finally for shatter-day ( lolololollooolllll!!!!!!! ) - my fake shatter crackle/nails. I am not loving the shatter look, it is cool and i appreciate it on other peoples nails but I don't really like it. I am surprised that it is so popular - every display in department stores in my town are sold out, with the exception of a few bottles of gold from Sally Hansen and Nicole by OPI ~ I guess gold shatter isn't popular.

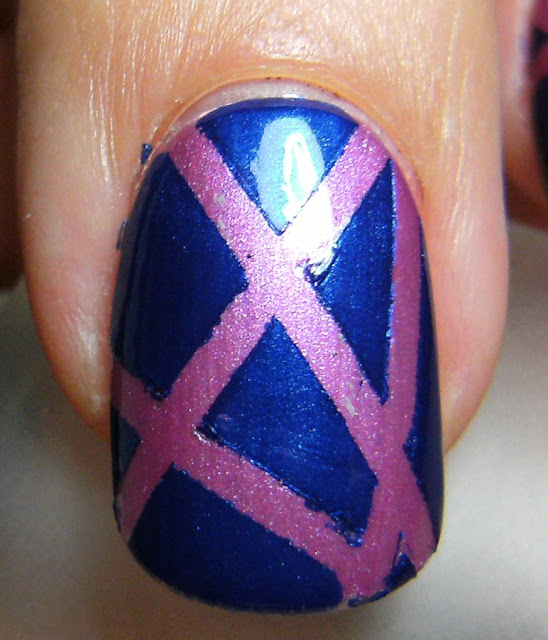
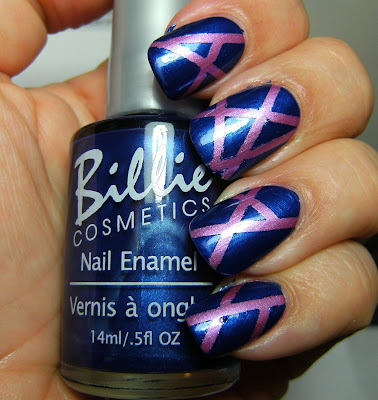
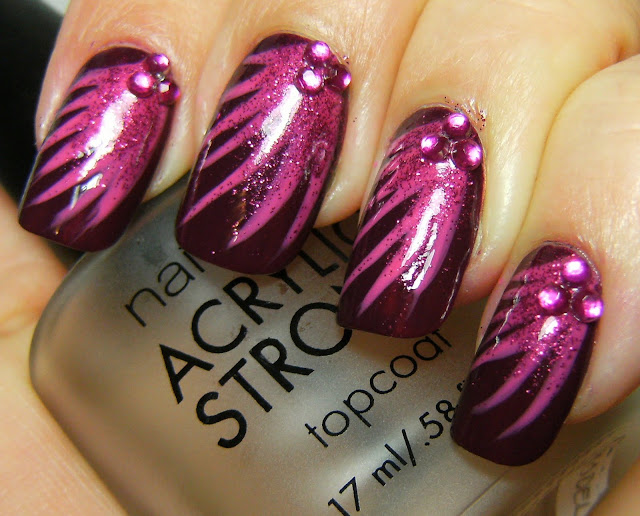
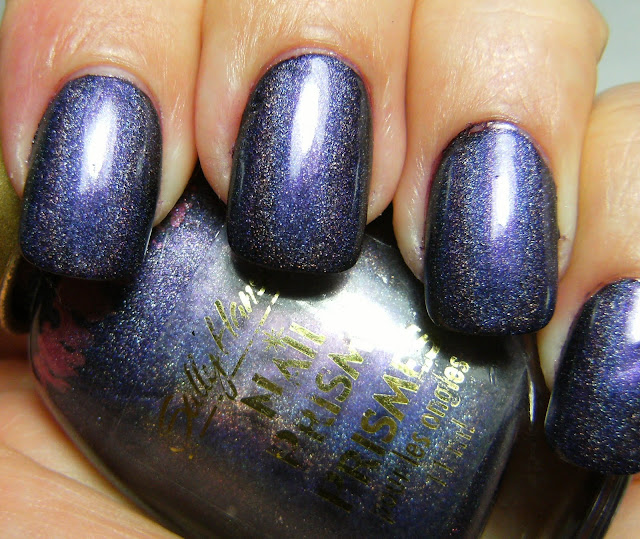
So here is my 'fake' crackle polish. I started with a base of a greyed out lavender franken, then painted on black jagged shattered pieces, and topped it off with a coat of Pure Ice Rio. This is as close to crackle nail polish as I will get.


black water-based acrylic paint and a little brush................

I did this immediately before taking my polish off, so I didn't bother adding top coat.
0


Wednesday, June 22, 2011

Pink shimmery mani with nail stickers from the dollar store


2 thin coats of Icing no-name bright pink shimmer form an older 5 set of polish's with beautiful nail stickers from a dollar store in my town. I found these stickers at Looney Twoons( lol) dollar store in my town, there are very dainty and pretty. I applied them to my ring nails, added a single holographic hex glitter to the center of the flower and added a coat of Nailene top Coat.


lol-  my polish from my right hand is all over this package. It was hard to open! I thought I could be stealthy with wet nails and get the stickers out. So after I post this I will be redoing most of the nails on my right hand.


" Your hands will be more attractive "

.... and a few more photos


Thursday, June 16, 2011

a Lazer manicure & some new polish


The base polish is my mani form yesterday - LA Colors Lollipop, I applied 1/16th tape and added Billie Cosmetics Dark Blue. I found 1/16" graphic art tape at staples for 8 bucks.... its pricy ~ but you get alot on the roll. I should have pressed down a bit more on the tape before I applied the shimmery dark blue polish as there is some seepage and wonky lines. So far there is no sticky reside left over for the tape which is nice.


......and yippee! a new collection of Billie Cosmetics Nail Polish


ha ha ha at some of the names.... Turquois, the second polish on the left is a flourescent medium purple which totally fudged up the coloring in this photo.

I will swatch these.... soon

I used my new Billie polish Dark Blue

base polish LA Colors Lolipop


I used graphic art tape - i found it at staples for 8 bucks for a roll. I cant find a photo of the exact type of tape but here is a photo from the internet;


apply tape & second colour


remove & apply TC

Wednesday, June 15, 2011

LA Colors Lolipop ~ wow this polish is a dollar?


This is 2 coats of LA Colors Lollipop layered over Sally Hansen Chrome Mayan Ruby with a coat of TC. These LA Colors polish's are available at the Dollar Tree & family Dollar USA for $1 USD, and in Canada at 'Only Deals' discount stores and some of The Bargain Shop's for $1.50 to $2.00 CAD. I think these are still on sale at cherry culture for $1.50

LA Colors Lollipop is a shimmery pink shade that need 4 to 5 coats to get to the bottle colour, so when I have worn this ~ I layer it.


below - 2 coats of SH Chrome Myan Ruby

center; 2 coats of Myan Ruby, on the left & right is 1 coat of Lollipop layered

SH Chrome Myan Ruby & LA Colors Lollipop

indoor flourescent


evening sun
OOO


Wednesday, May 18, 2011

Berry Blast Off


This is 3 thin coats of NYC Manhatten, followed by 2 coats of At Deco pink stripe polish, a purposely messy addition of Raspberry glitter and a few of those fake rhinestones set into wet Top Coat. I really should have used 2 coats of top Coat, becuase this glitter textured and marred what should have been a shiny surface.

It's strange how some glitter nail polish is smoothe and only needs a light coat of Top Coat, and some glitter polish needs 2 or even 3 coats to get a shiny even surface. I got these fake rhinestones from the DollarRama and if they are covered by polish, any polish, the shiny finish clouds over. So now I just set them into wet top coat.

These fake rhinestones hung on for the day despite being placed into wet Top Coat..... My thumb nails and ring nails lost a few gems towards the evening but none of them got stuck in my hair.... this time!


NYC New York Color Manhatten, Art Deco Pink Stripe Polish, Icing Raspberry Glitter


I used a piece of spaghetti ( not cooked lol ) to pick up these gems and place them into wet TC

My Right hand, which I plan on adding to more posts.... my left hand gets all the glory

Icing No-Name Glitter...... I think I'll call it Raspberry Glitter

 2 'coats' of Stripe polish

with the glitter & gems

Wednesday, May 4, 2011

Pink Wednesdays & a lightning mani ?


This holographic glitter is very cool, but it is stinky, like a few other polish's I have. I was sad about that because this is neat. It is small circular glitter, and medium sized bar glitter, both holographic. I took this off because I could still smell it, even through top coat. And since I sleep in a choke hold every night, with my hands in from of my face ( don't ask..... ) I would not have a peaceful sleep, being able to smell this.

I have layered this lovely holographic glitter over Billie Cosmetic's Fuchsia. A bright pink that shows up orange in 80% of my photos. Like most flourescent polish's it dries to a satin finish


and with 2 coats of the glitter. This has no name and I am not even sure what the company or brand is. Is it CR or DR?


..... and a lightning bolt mani. I wanted to try this free-hand, without tape. I used Art Deco strip polish in Hot Pink on my middle nails and the rest of my nails were a similar colour of pink from the set of 5 stripe polish's I found at the Bargain Shop ( Canada ). The Art Deco polish is more Pigmented and dries shiny-er = just for comparison.

I tried to cut out  a piece of painters tape in the shape of a lighting bolt but my mani just didn't turn out. Next time I try this, I will do it like in Nailsides tutorial

I think this turned out okay. I would say this is more of a geometric manicure that a lighting bolt. This was 2 coats of Sally Hansen Hard as Nails in Rave Review and the stripe polish's. No Top Coat.

I wore this for the day before I tried out some nail art.

Sally Hansen Rave Review is a lovely warm silver/gold metallic, I really don't know how to call it - silver or gold.....  it's pretty and dried fast.


So here is how I made my lighting bolts.  I made two lines, parallel to each other like so.........

then connected them like so...........

then filled them in; like so............

I am terrible at explaining things so here is one more photo of that fabulous, but stinky holo glitter


Thursday, April 28, 2011

Nail Prisms Franken


My Previous Mani, 2 coats of Sally Hansen Nail Prisms in Pink Diamond, and 2 coats of a franken I made with Pink Diamond. I did not want to remove my previous polish, so I disguised the tip wear from gardening with a diagonal mani. I saw this very same franken on MUA from JiLoverz a few months ago and wanted to copy it. I used a bottle of Sally Hansen Pink Diamond and NYC West Village which is a dark blue.

Also; I don't know why but every time I wear rubber-gloves the skin on my hands starts to flake off a few days after. I am going to Google this and see what comes up. Does this happen to anyone else? I make sure I wash them inside out and dry them before I use them for chores.... so no nail polish remover for me for a day or two till my hands are in better shape.

indoors

indoors


sun

sun

to make this lovely franken I used sally Hansen Nail Prisms in Rose Diamond and added NYC west Village (a deep dark blue). I was nervous about it and thought I might ruin it, but it turned out just fine.

L-R My Franken Layered over NYC West Village, an earlier lighter version of my franken, and 2 coats of the franken I made with Sally Hansen Rose diamond and NYC West Village.


below is Sally hansen NailPrisms in Diamond layered over various polish's.

L-R, 1 coat over Black, 2 coats of Diamond, 1 coat over Icing's Dark Purple Creme, 2 coats of China Glaze Shower Together, 2 coats of NYC China Town, 2 coats over Icing's Light Purple Creme


Below; this was a mani from before earth day..... I layered my purple prism franken over Sally Hansen XW Grey Area.....2 coats with 1 coat of TC.


Related Posts Plugin for WordPress, Blogger...