Showing posts with label Brand - Sally Hansen. Show all posts

Saturday, August 13, 2011

Sally Hansen Nail Prisms Pearly Pinkk & fake crackle/shatter nails

Sally Hansen Nial Prisms Pearly Pink layered over 3 thin coats of Wet n Wild Frosted Fuschia

  I found this older SH polish for $1.50, a few months ago and never got around to wearing it. Someone else in my town scooped up most of the older Sally Hansen Nail Prisms that were delivered, so I only grabbed this and another one that I already had. This is the Canadian exclusive (lol) called Pearly Pink. It is a sheer pink with heavy teal and blue flash.  Here is Lextard's photo,   I am pretty sure its the same polish.


below is Wet n Wild Frosted Fuchsia - which is not a frost at all! It is a very bright shimmery polish that took 3 thin coats to get to opacity. This is another polish that I picked up a few times and put doen at least 4 times over the years.

Wet n Wild Frosted Fuchsia - 2 coats.


.....and finally for shatter-day ( lolololollooolllll!!!!!!! ) - my fake shatter crackle/nails. I am not loving the shatter look, it is cool and i appreciate it on other peoples nails but I don't really like it. I am surprised that it is so popular - every display in department stores in my town are sold out, with the exception of a few bottles of gold from Sally Hansen and Nicole by OPI ~ I guess gold shatter isn't popular.

So here is my 'fake' crackle polish. I started with a base of a greyed out lavender franken, then painted on black jagged shattered pieces, and topped it off with a coat of Pure Ice Rio. This is as close to crackle nail polish as I will get.


black water-based acrylic paint and a little brush................

I did this immediately before taking my polish off, so I didn't bother adding top coat.
0


Tuesday, August 2, 2011

When in doubt - sponge! 2 purple sponge manis


lol - that fluff!

Today, after my blog hiatus, I have two purple sponge mani's. First I frankened Wet n Wild Eggplant Frost with China Glaze Grape Juice. Even though I darkened the China Glaze polish, the glass flecks were still very prominent, so that's a good thing.

I started with a base of older discontinued artificial nails from Nail Fetish that I found at the dollar store. I mixed up WnW Eggplant Frost with China Glaze Grape Juice on a piece of tin foil and sponged it on the last 3/4 of my nail....when it was sorta dry I added a coat of Nailene TC.

ChG Grape Juice, a pretty pale purple glass fleck polish that I don't use enough.


stuff I used; WnW Eggplant Frost, China Glaze Grape Juice Nailene TC


While I do like China Glaze Grape Juice, I think it is a tad too light, so I frankened a small amount with Wet n Wild Eggplant Frost and did a graduated sponge on a lilac base.


this is the base of the above and below manicures,

These are old discontinued Nail Fetish artificial nails that I found at the dollar store, they are a light lilac and have subtle shimmer. I had to cut them down and re-shape them, they were a weird almond shape.... also I glued the wrong one on my index nail, it is waaaaay to big! Whoops.


..... and another purple sponge mani~


stuff I used, XW Purple Potion, Purple stars from Michelas Craft stores, Nailene TC

I did a graduated sponge, then brushed on the Sally Hansen Purple Potion on the last 1/4 of my nail then added the star & a coat of TC


this is an older Sally Hansen X-treme Wear polish I found at a Garage sale for .10 cents
Purple Potion is a medium purple with strong blue flash


❤


Thursday, June 23, 2011

a purple diagional mani


I will be adding silver glitter stripe polish across the line, but before my camera battery totally dies I snapped these photos. This is 3 thin coats of Sally Hansen Lacey Lilac, I applied thin graphic art tape diagonally across my nails, and then added 2 coats of Billie Cosmetic's Purple, which is a deep blurple shimmer polish.

When I removed the the tape and applied Top Coat, I found that thin graphic art tape to be too thin for me to use as a polish guide and so I got polish on the other side of the tape. I had to go over the polish mistakes with the Sally Hansen polish; you can still see some of them - oops!

sun


sun


2 coats of Sally Hansen Lacey Lilac
o


Wednesday, June 15, 2011

LA Colors Lolipop ~ wow this polish is a dollar?


This is 2 coats of LA Colors Lollipop layered over Sally Hansen Chrome Mayan Ruby with a coat of TC. These LA Colors polish's are available at the Dollar Tree & family Dollar USA for $1 USD, and in Canada at 'Only Deals' discount stores and some of The Bargain Shop's for $1.50 to $2.00 CAD. I think these are still on sale at cherry culture for $1.50

LA Colors Lollipop is a shimmery pink shade that need 4 to 5 coats to get to the bottle colour, so when I have worn this ~ I layer it.


below - 2 coats of SH Chrome Myan Ruby

center; 2 coats of Myan Ruby, on the left & right is 1 coat of Lollipop layered

SH Chrome Myan Ruby & LA Colors Lollipop

indoor flourescent


evening sun
OOO


Tuesday, June 7, 2011

SH Hidden Treasure layered over an orange sponged mani


Oh Hidden Treasure Flakies = you make everything gorgeous


This mani started out like this. I stretched my mani from yesterday, which was Wet n Wild Sunny Side Up. I removed the simple design I had on my ring nails then I sponged on a no-name Claire's polish which is an orange frosty abomination, and Color-Rama Sunrise Sensation, then I used Claire's Matte Top coat.

The sponging is subtle which is what I wanted. However I thought the flecks in the Color-Rama polish would show up much better. I added a coat of Sally Hansen Hidden Treasure for more pizazz ( pizazz; lol)


WnW Sunny Side up, Claire's no-name Orange, Color-Rama Sunrise Sensation, Claire's Matte Top Coat


The no-name Claire's Orange mini


The peach flecks in Tahiti Sunrise sorta show up


..... and one more with Hidden Treasure


♥

Monday, May 23, 2011

New Blog Monday &Sally Hansen Brown Chrome & Rusty Ballz


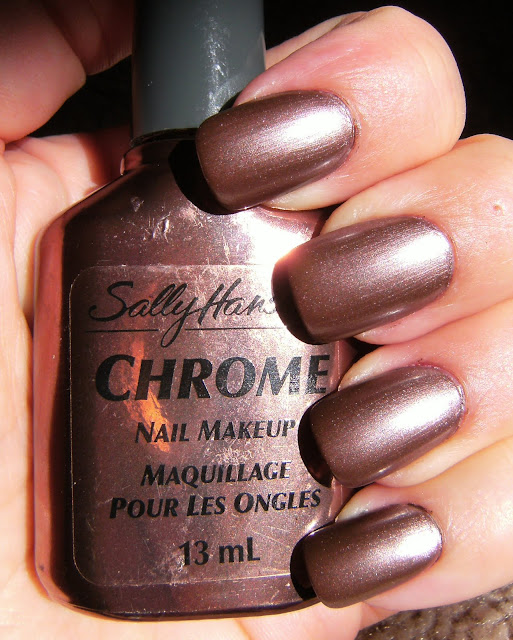
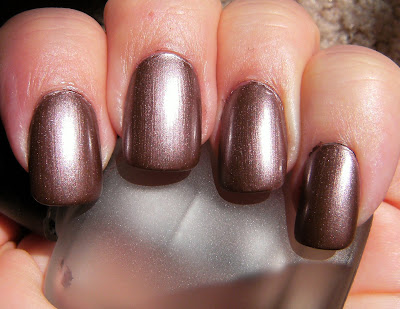
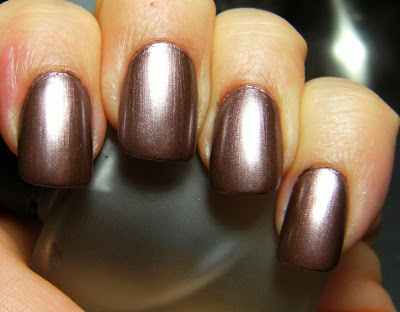
I know there is another name for this older Sally Hansen Chrome polish. I have hunted around on the internet for the correct name but cannot find it. It is a brown chrome from the discontinued Sally Hansen Chrome Nail Make-up collection

3 coats with Top Coat { sun }

indoor flo

 ... and new blogs!

OMG polish-em

The manicured monkey

Nic Nacks nails

ari-sweet delight 

nails by nicO

mynailzz

 pallinogirl 

The Traceface philes

Midnight Manicures

 pass the polish please

 geezleweez

 1 Thumbnail

Pet fur in our polish

Clever and Colorful 


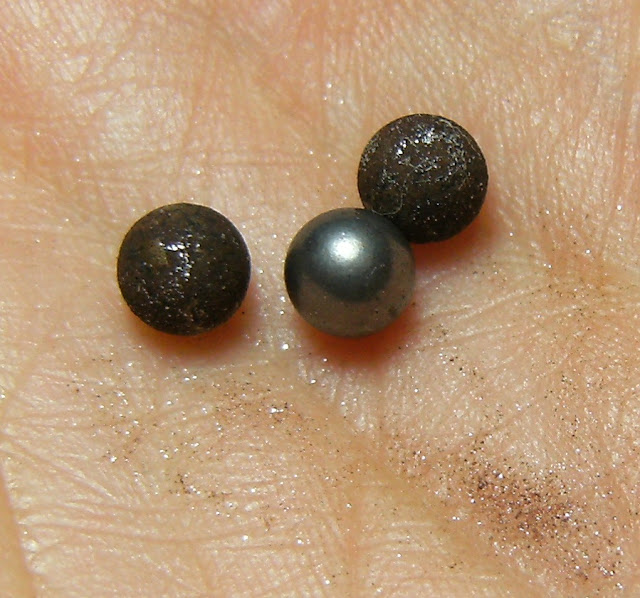
... and now the sad stuff  = THESE WERE BAD BALLZ!

 It says steel on the bottle, so I thought they would be fine. But they rusted in a few of my polish's


You really do need quality STAINLESS STEEL BB's for polish bottles


I bought these a few years ago and only added them to a few franken polish's.  I did not ruin any franken polish's that I couldn't re-make again. I did add these to some polish's that I had to throw away, thankfully I had back-ups of those.

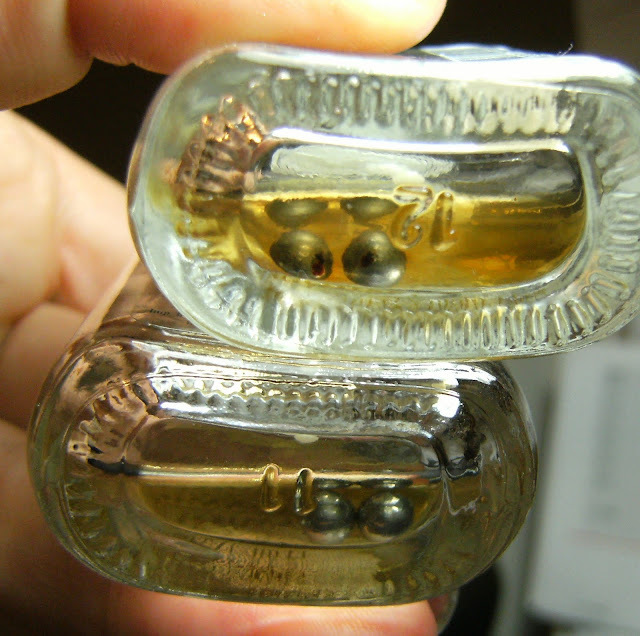
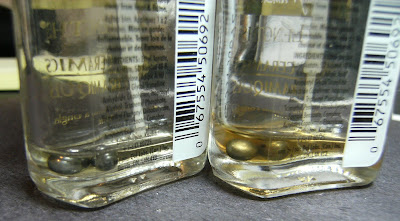
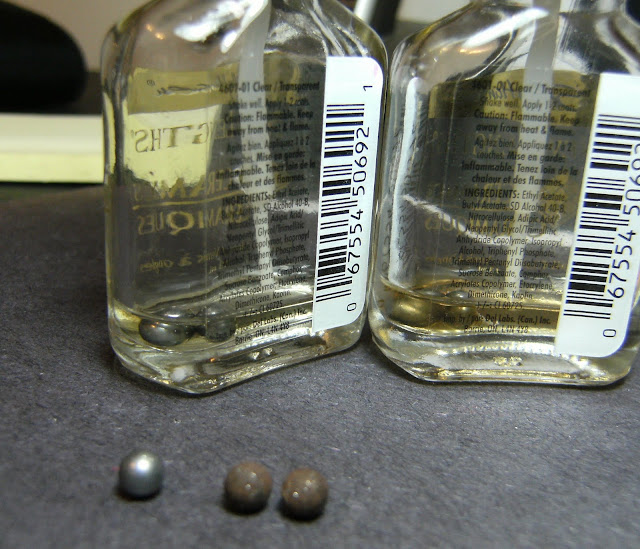
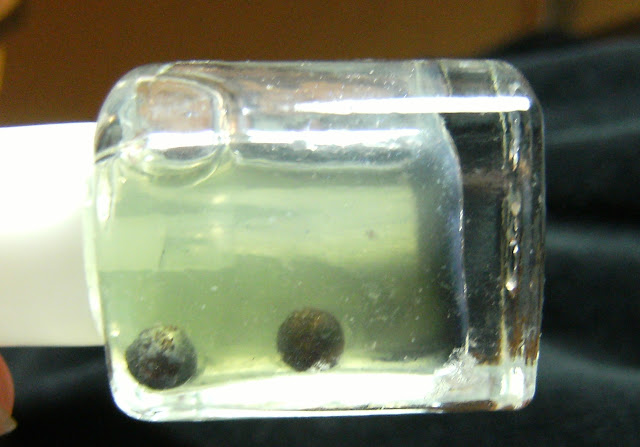
Below is these same BB's in various clear polish's.

The smoothe silver ball came from a Sally Hansen bottle, and the 2 rusty balls are the walmart BB's that had been in a clear sally Hansen polish bottle. This was approximately 6 months later. When I repeated this recently these balls began rusting within days.

The top bottle has the rusty walmart balls, and the bottom bottle has the original Sally Hansen ballls


I placed these balls in clear Billie Cosmetics polish for 6 months = RUST!!!
♥

Wednesday, May 4, 2011

Pink Wednesdays & a lightning mani ?


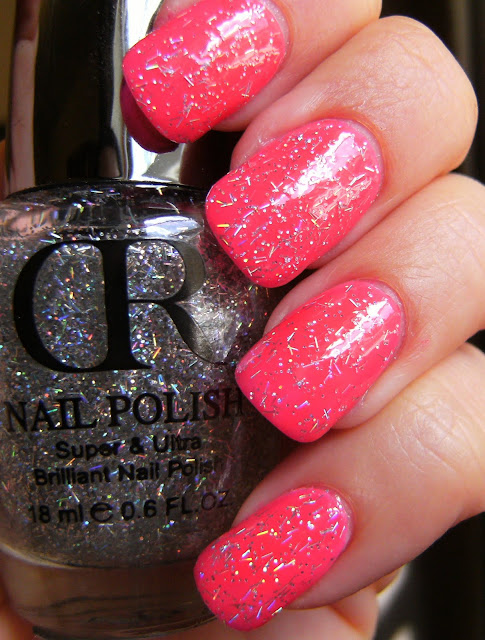
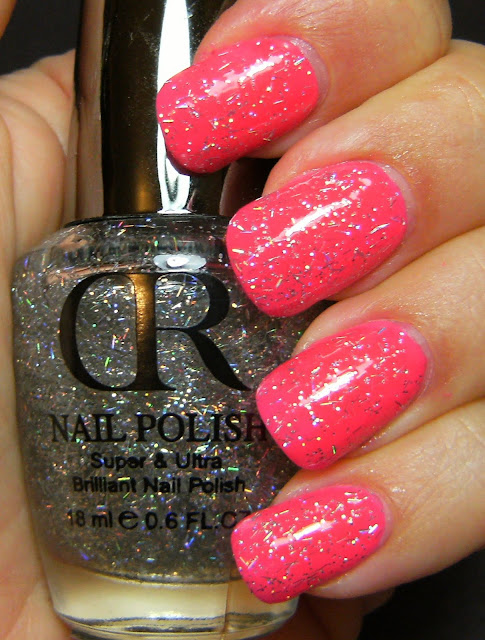
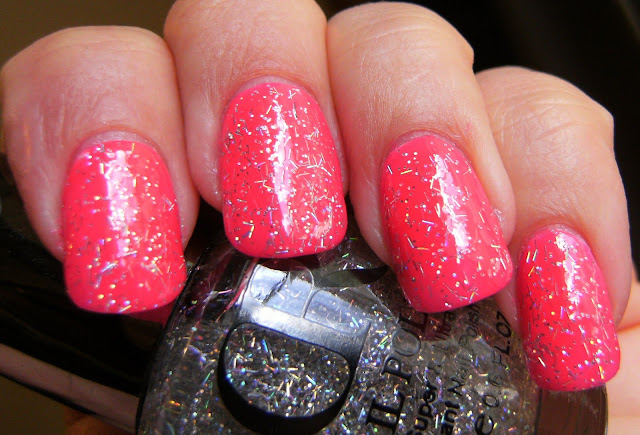
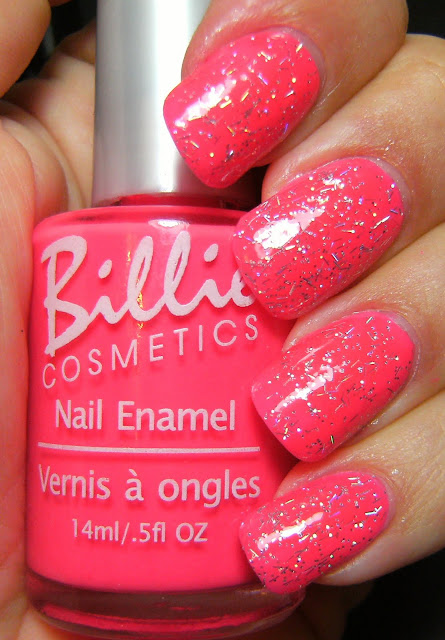
This holographic glitter is very cool, but it is stinky, like a few other polish's I have. I was sad about that because this is neat. It is small circular glitter, and medium sized bar glitter, both holographic. I took this off because I could still smell it, even through top coat. And since I sleep in a choke hold every night, with my hands in from of my face ( don't ask..... ) I would not have a peaceful sleep, being able to smell this.

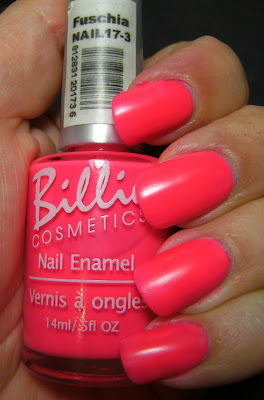
I have layered this lovely holographic glitter over Billie Cosmetic's Fuchsia. A bright pink that shows up orange in 80% of my photos. Like most flourescent polish's it dries to a satin finish


and with 2 coats of the glitter. This has no name and I am not even sure what the company or brand is. Is it CR or DR?


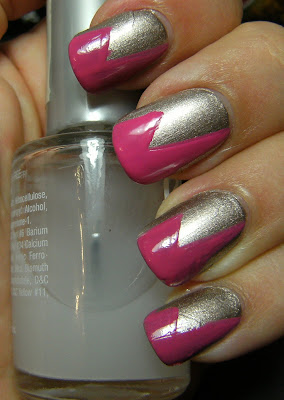
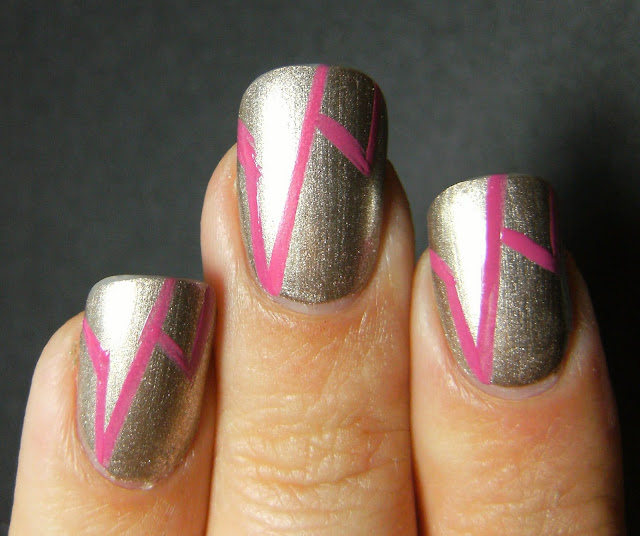
..... and a lightning bolt mani. I wanted to try this free-hand, without tape. I used Art Deco strip polish in Hot Pink on my middle nails and the rest of my nails were a similar colour of pink from the set of 5 stripe polish's I found at the Bargain Shop ( Canada ). The Art Deco polish is more Pigmented and dries shiny-er = just for comparison.

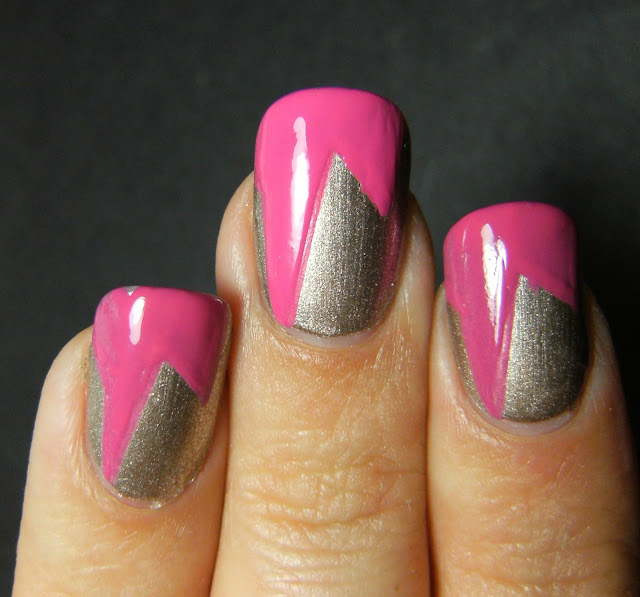
I tried to cut out  a piece of painters tape in the shape of a lighting bolt but my mani just didn't turn out. Next time I try this, I will do it like in Nailsides tutorial

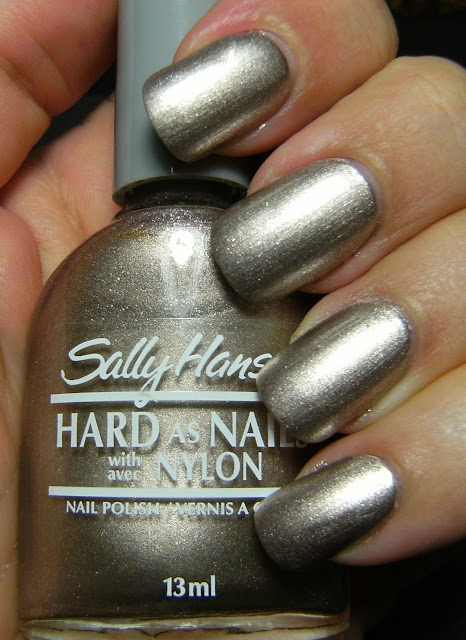
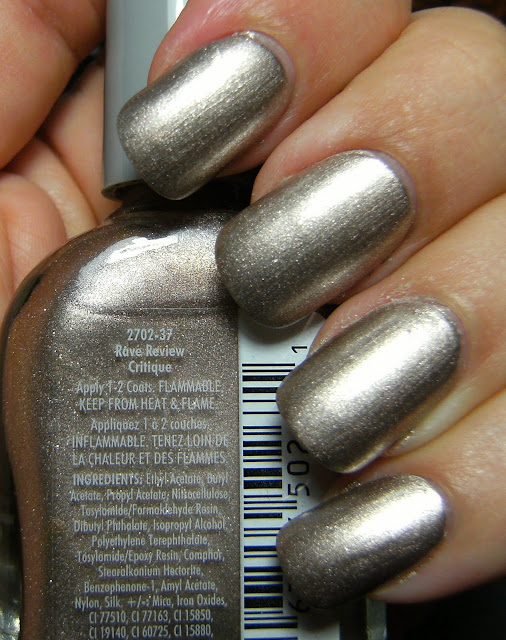
I think this turned out okay. I would say this is more of a geometric manicure that a lighting bolt. This was 2 coats of Sally Hansen Hard as Nails in Rave Review and the stripe polish's. No Top Coat.

I wore this for the day before I tried out some nail art.

Sally Hansen Rave Review is a lovely warm silver/gold metallic, I really don't know how to call it - silver or gold.....  it's pretty and dried fast.


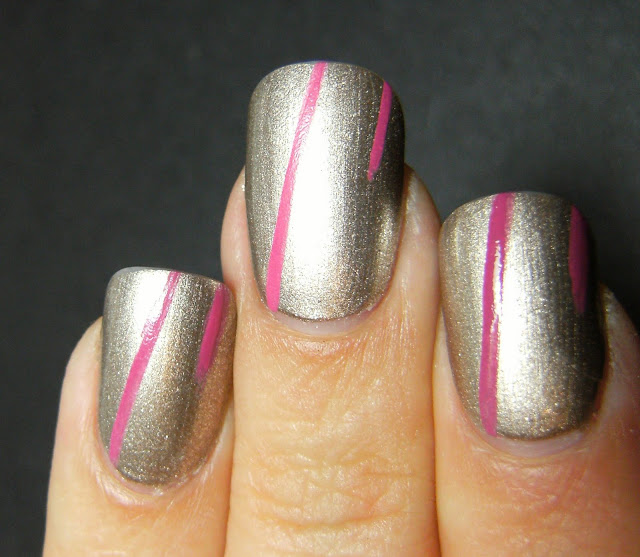
So here is how I made my lighting bolts.  I made two lines, parallel to each other like so.........

then connected them like so...........

then filled them in; like so............

I am terrible at explaining things so here is one more photo of that fabulous, but stinky holo glitter
♥


Related Posts Plugin for WordPress, Blogger...